Step 9 How to sell your services on restaurants
If your hotel has Bars or restaurants that are open to the public, not just your room guests, you can use the POS Console to sell your services to anyone. Now, Follow these simple steps to sell your services on the restaurants, Bars, SPAs and so on:
Step 1) Go to the POS Section
Go to POS section, as Figure 62 shows:
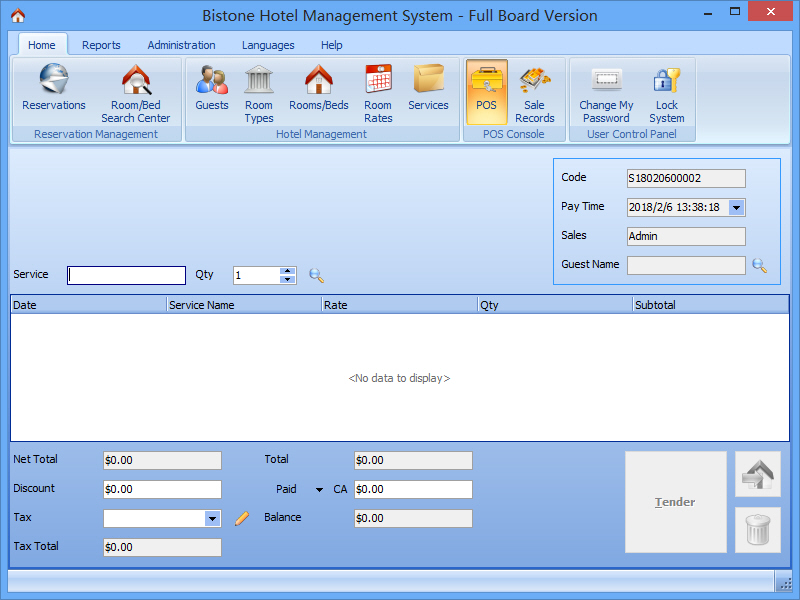
Figure 62 Go To POS Section
Step 2) Search for a Service
Enter a keyword in the [Service] search box to search a service, as shown in Figure 63:

Figure 63 Enter a Keyword to Search a Service
You can enter the service name or service code/barcode as the keyword. Then press [Enter] to change the quantity, as shown in Figure 64:
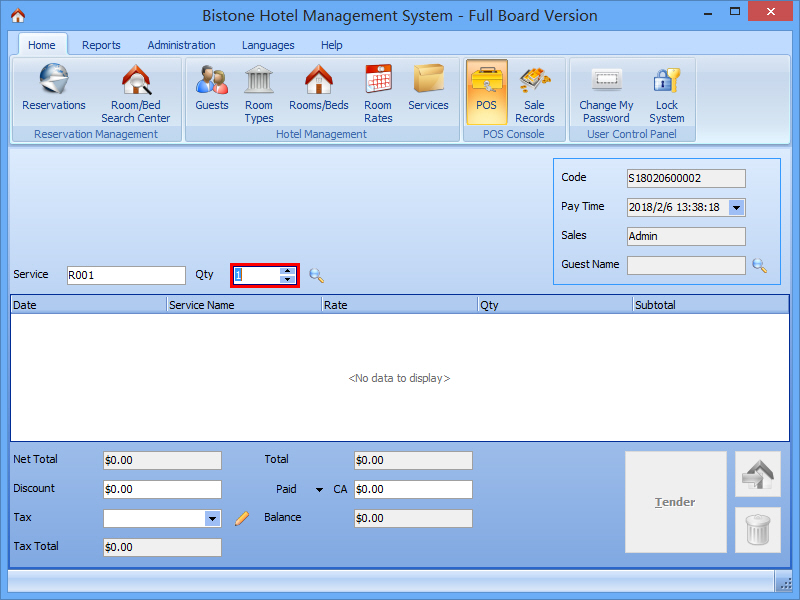
Figure 64 Change Quantity
Then press [Enter] again, and if the system finds only one service, it will automatically add the service to the Bill List, as shown in Figure 65:
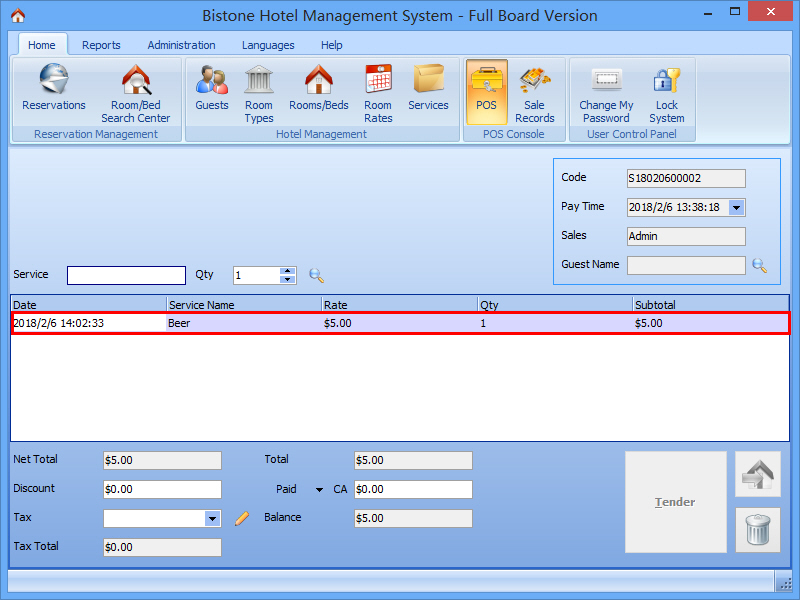
Figure 65 Only One Service Added into Bill List
If the system finds more than one service, a dialog will appear, as shown in Figure 66:
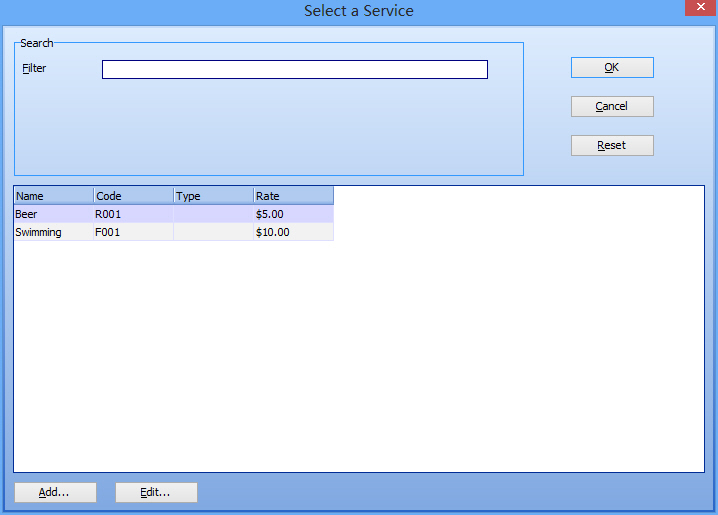
Figure 66 Select a Service Dialog
Alternatively, you can click the [Search a service] Button to access this dialog, as shown in Figure 67:
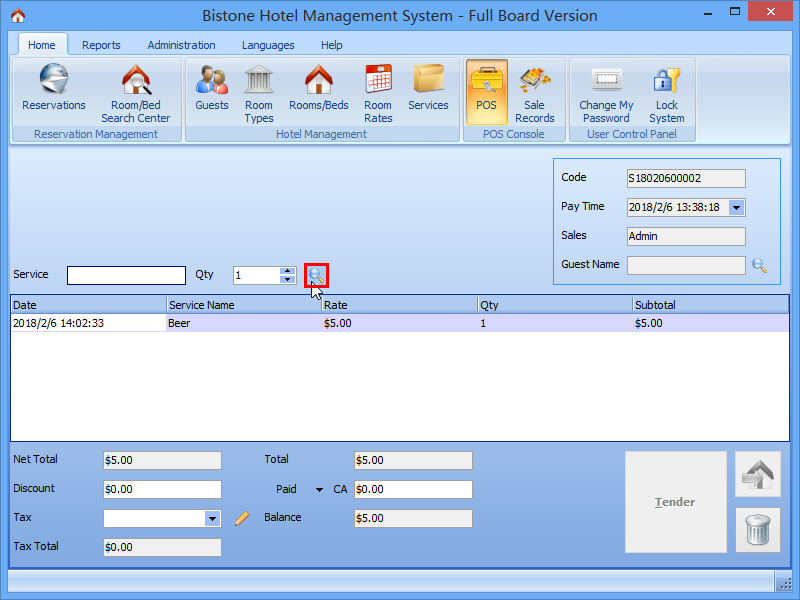
Figure 67 Search a service Button
Select a service from this dialog, and the system will add it into the Bill List, as shown in Figure 68:
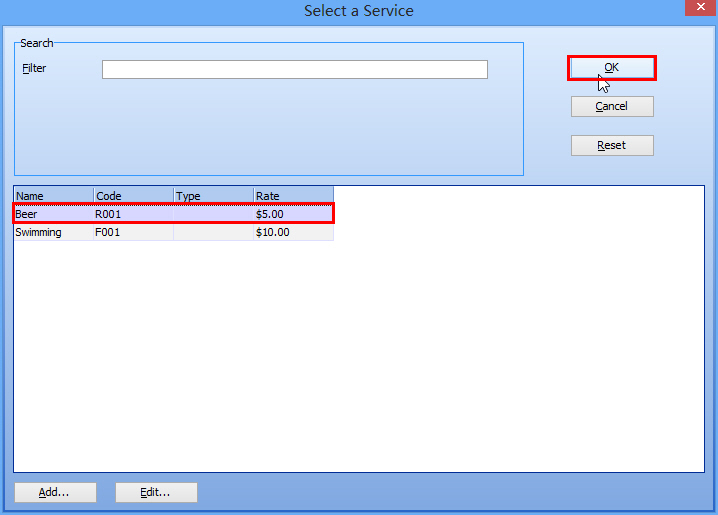
Figure 68 Select a Service on Select Dialog
Step 3) Click Paid Button to Select a Pay Type
After you have added some services to the Bill List, click the [Paid] Button to select a Pay Type, as shown in Figure 69:
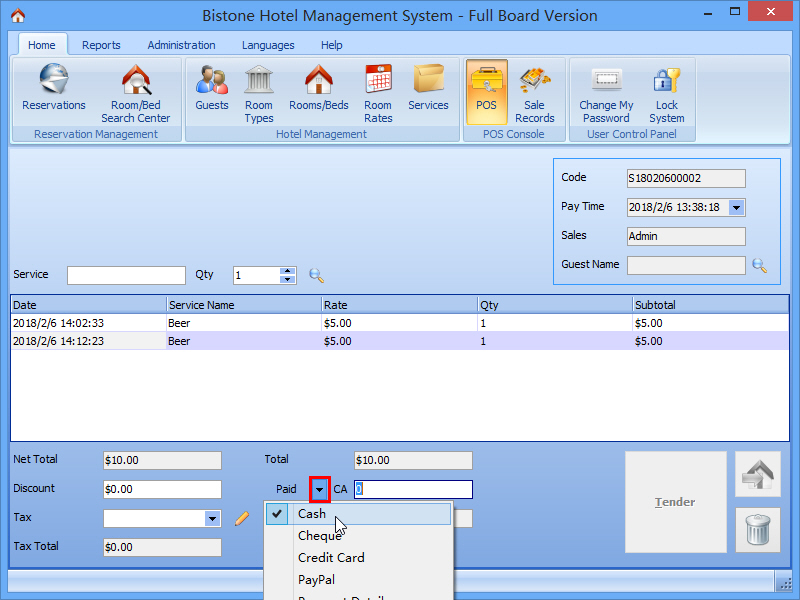
Figure 69 Select a Pay Type
Step 4) Enter the payment amount
Then, enter the payment amount as shown in Figure 70:

Figure 70 Enter payment amount
If the bill is for a non-guest (walk-in or other non-room-guests), the payment amount must be equal to the bill total.
If the bill is for a guest, you must select the guest, as shown in Figure 71:

Figure 71 Select a guest For Services
Once you have selected a guest for the bill, you can enter any amount into the [Paid] edit box.
For a guest, you can also add all items on this bill to his/her room reservation by clicking the [Transfer to Reservation], as shown in Figure 72:
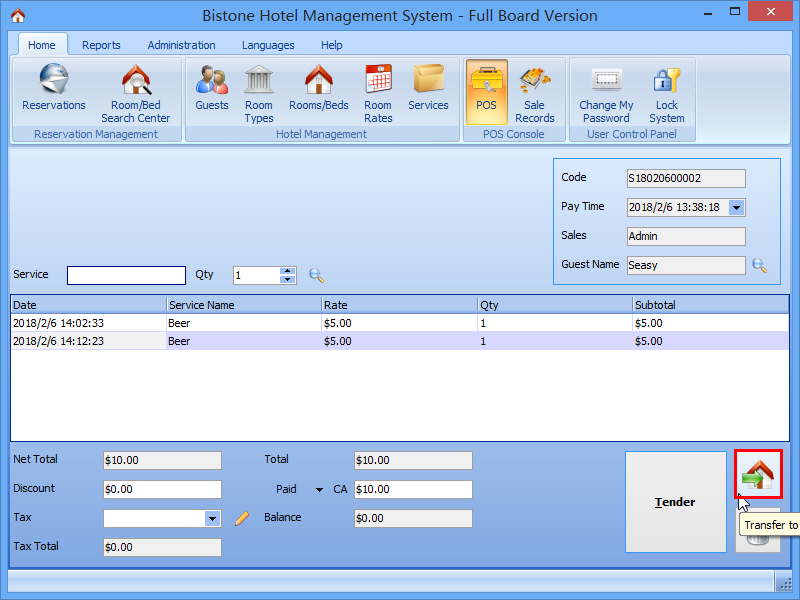
Figure 72 Click Transfer to Reservation Button
If the guest has no reservations, this button will be disabled.
Step 5) Click Tender to Save Bill
Please click the [Tender] to save the bill, as shown in Figure 73:
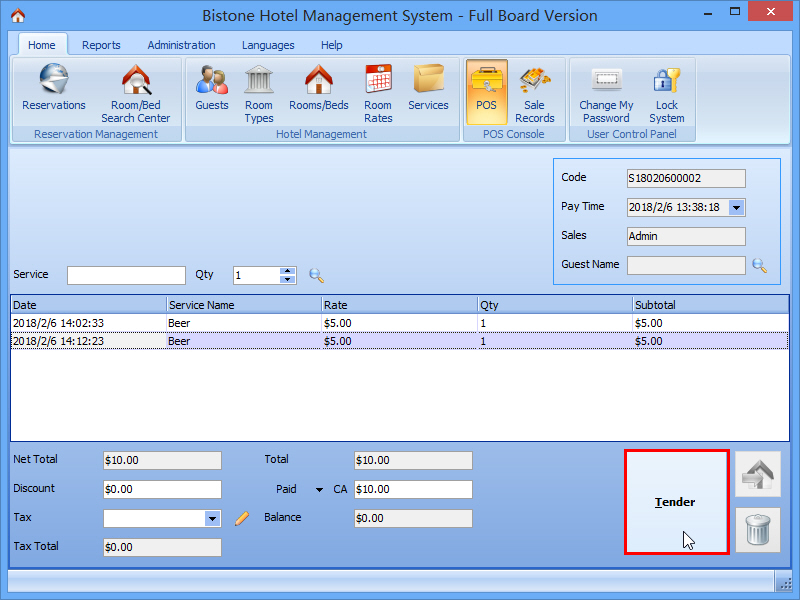
Figure 73 Click Tender Button
Step 6) Change the POS Style
You can change the POS style on the Settings section, as shown in Figure 74:
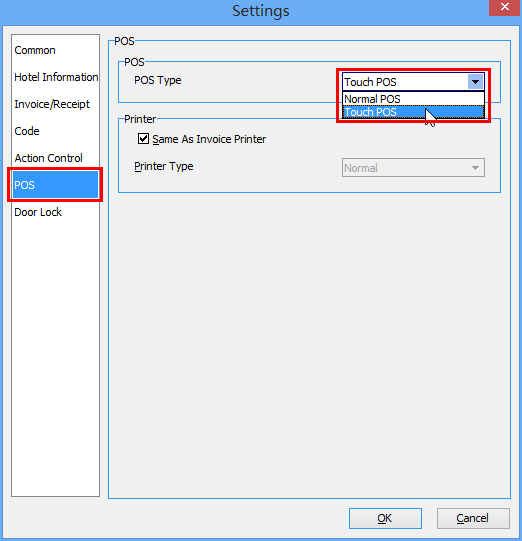
Figure 74 Change POS Type
Normal POS: It is the default, which supports full keyboard operations
Touch POS: It is for Touch Screens and supports touch operations, as shown in Figure 75:

Figure 75 Touch POS
Step 7) View Sale Records
Go to the Sale Records Section to view all bills, as shown in Figure 76:
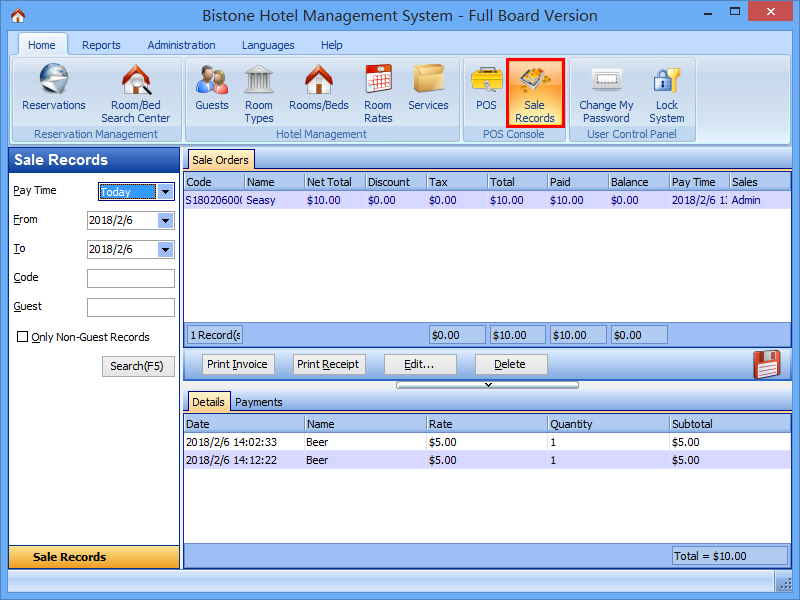
Figure 76 View Sale Records